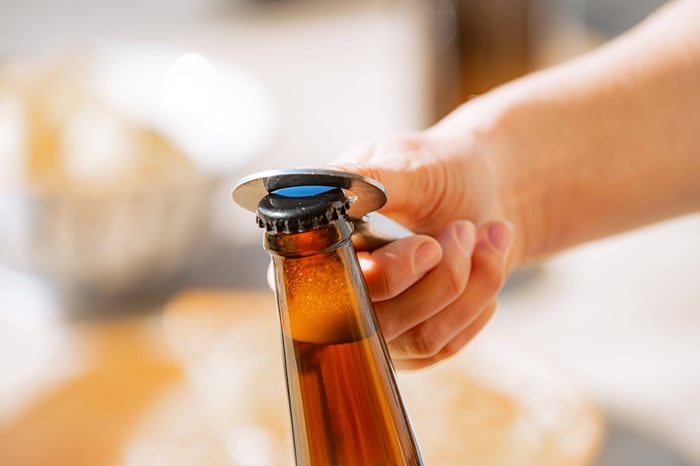
Ready to bottle your latest creation? Whether you've just finished your first extract kit or you're transitioning from kegging, bottling offers that satisfying hands-on finish to your brewing journey. Plus, there's nothing quite like hearing that first "pop" when you crack open a perfectly carbonated homebrew with friends.
Let's walk through everything you need to know to bottle like a pro, from choosing the right containers to achieving that perfect carbonation level.
Choosing Your Bottles: Glass, Plastic, or Something Else?
Recycling Soda Bottles: The Budget-Friendly Start - Starting simple? Those 2-liter Coke bottles sitting in your recycling bin are actually perfect for your first batches. They're built for pressure, labels peel off easily, and best of all – they're free. The only catch? They're clear, which means your beer could develop that skunky flavor if it catches too much sunlight. Store them in a dark spot and you're golden.
Repurposing Commercial Beer Bottles - Got a collection of craft beer bottles from your latest brewery tour? Perfect! Brown bottles are your best friend here – they'll protect your beer from light damage far better than clear ones. Just make sure to inspect each bottle carefully for chips or cracks. Nobody wants a bottle bomb situation on their hands.
The tricky part? Those stubborn labels. Some peel right off, others seem permanently attached. Pro tip: soak them in warm, soapy water for 30 minutes before scrubbing.
Investing in New Bottles - Ready to step up your game? Your local homebrew store has everything from standard crown-cap bottles to those fancy swing-top varieties. Crown caps give you that professional look (and you can color-code different batches), while swing-tops are incredibly convenient for repeat use.
For glass bottles, brown is definitely the way to go for maximum protection. And here's a neat trick: with PET bottles, you can actually feel when carbonation is complete. When you first fill and cap them, you can squeeze the sides easily. Once they're fully carbonated, they'll be rock-hard.
Mastering Bottle Conditioning: The Science Behind the Fizz
Think of bottle conditioning as giving your yeast one final job. You're essentially creating a controlled mini-fermentation that produces just enough CO₂ to carbonate your beer perfectly.
The Carbonation Drop Method - This couldn't be simpler. Fill your bottles directly from the fermenter, drop in one carbonation drop per 12 oz bottle, cap, and wait. It's foolproof and consistent, making it perfect for beginners or anyone who values convenience over customization.
Priming Sugar: Your Path to Precision - Want more control over your carbonation levels? Priming sugar is your answer. Different beer styles need different levels of carbonation – your light lager should have more sparkle than your robust porter.
Here's what we recommend for popular American styles:
- American Pale Ales: 2.2-2.7 volumes CO₂
- IPAs: 2.2-2.5 volumes CO₂
- Porters and Stouts: 1.7-2.3 volumes CO₂
- Wheat Beers: 2.7-3.3 volumes CO₂
Creating Your Priming Solution - Dissolve your calculated sugar amount in 16 fl oz of boiling water (this keeps everything sanitary), then let it cool to match your beer's temperature. You can either add this to a bottling bucket and transfer your beer on top, or carefully stir it directly into your fermenter.
Pro Bottling Tips That Make All the Difference
Sanitation is Everything - This bears repeating because it's that important: every single thing that touches your beer needs to be spotless. Bottles, caps, siphon tubing, bottle capper – sanitize it all. One contaminated bottle can ruin weeks of hard work.
Here's our cleaning routine:
- Rinse bottles immediately after drinking
- Deep clean with brewery cleaner before bottling day
- Sanitize with no-rinse sanitizer
- Keep everything covered until use
Timing is Critical - Never bottle actively fermenting beer – this is how bottle bombs happen. Your gravity readings should be stable for at least 48 hours before you even think about bottling. We can't stress this enough: patience here prevents disasters later.
The Dishwasher Trick - Here's a game-changer for glass bottle users: your dishwasher is basically a giant bottle sanitizer. Run it empty with detergent to clean it out, then load your bottles and run a hot cycle without soap. The sustained heat effectively sanitizes everything.
Managing Mishaps - If you open a bottle and it geysers everywhere, don't panic. Check another bottle – it's usually just one bad apple. If multiple bottles are over-carbonated, you might have a fermentation issue, but don't dump everything. Set those bottles aside and taste them in six months. Sometimes wild fermentation creates surprisingly delicious results.
Wrapping Up Your Bottling Success
Bottling might seem intimidating at first, but it's really just another step in the brewing process where attention to detail pays off. Whether you're using recycled soda bottles or investing in a full set of brown glass bottles, the principles remain the same: keep everything clean, ensure fermentation is complete, and be patient with conditioning.
Ready to take your brewing to the next level? Check out our complete Brewing 101 series for more insights from fellow brewers who've been exactly where you are now.
Got questions about your bottling setup? Drop us a line – we love talking shop with fellow brewers!
Cheers to your next perfectly carbonated batch,
Grainfather Team