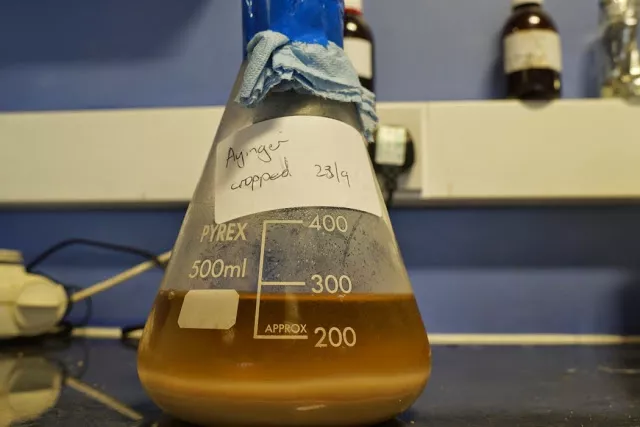
Cropping yeast is something that is very common in commercial breweries because of a regular brewing pattern and the savings that can be made not having to pay for yeast every time you brew.
This was also something JK was very familiar with in a commercial setting, whether that’s cropping from the bottom of a fermenter or skimming from the top. It’s something he’d never done as a homebrewer though, partially because the cost of pitching fresh every time is not prohibitive but mostly because his brewing is irregular.
Recently though JK had taken the effort to brew with a couple of yeast strains that he really likes with one of them a strain that he can’t get again, both beers finished within a day or two of each other and with a holiday scheduled in he doesn’t have time to get more brews on so his best option is to crop for storage.
There’s a lot of information on the internet about this but JK wanted something simple and easy for anyone to do.
Important things to remember
- Cleanliness is key
- Yeast washing
JK can’t stress enough how important cleanliness is in all aspects of brewing, yeast cropping and storage is no different. He’s cleaning all his equipment with a chlorinated detergent, sanitising with a no rinse sanitiser and spraying everything with an alcohol spray sanitiser.
He washed his yeast in this instance, not in the commercial brewery sense where they lower the pH to inactivate bacteria, but in the sense that cropping from the bottom includes a lot of trub, hops and dead yeast cells, JK doesn’t want that in his yeast culture.
It’s essentially a simple procedure:
- JK racked off the beer from both fermenters to keg/bottle.
- He swirled the yeast in the bottom of each fermenter to homogenise and make it easy to pour.
- From one fermenter he poured the yeast slurry out directly through the tap, the other JK poured out of the top – both went into separate sterile containers. He put them both in the fridge and this is what he got (one of the samples):
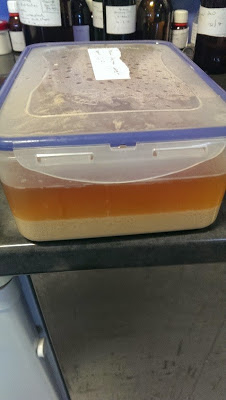 |
| Yeast sample after it had been left to settle |
- JK then decanted the remaining beer from the sample leaving him with this:
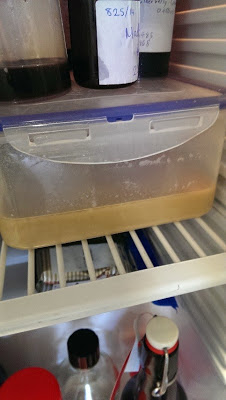
- He then added 500 ml of boiled and cooled water, homogenised it and returned to the fridge.
- As you can see there are three distinct layers, top layer is yeasty water, middle layer is clean yeast with a darkly speckled trub layer at the bottom.
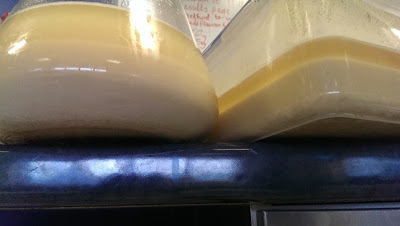
7. JK then decanted the water off to the drain, decanted the clean yeast layer into sanitised flasks leaving the trub behind and giving him this:
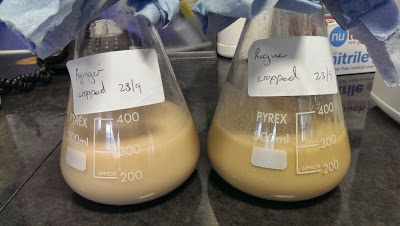
He’ll now store these in the fridge at between 0-2°C and then create a starter for them both when he’s back from my holiday and brew some more beer!
