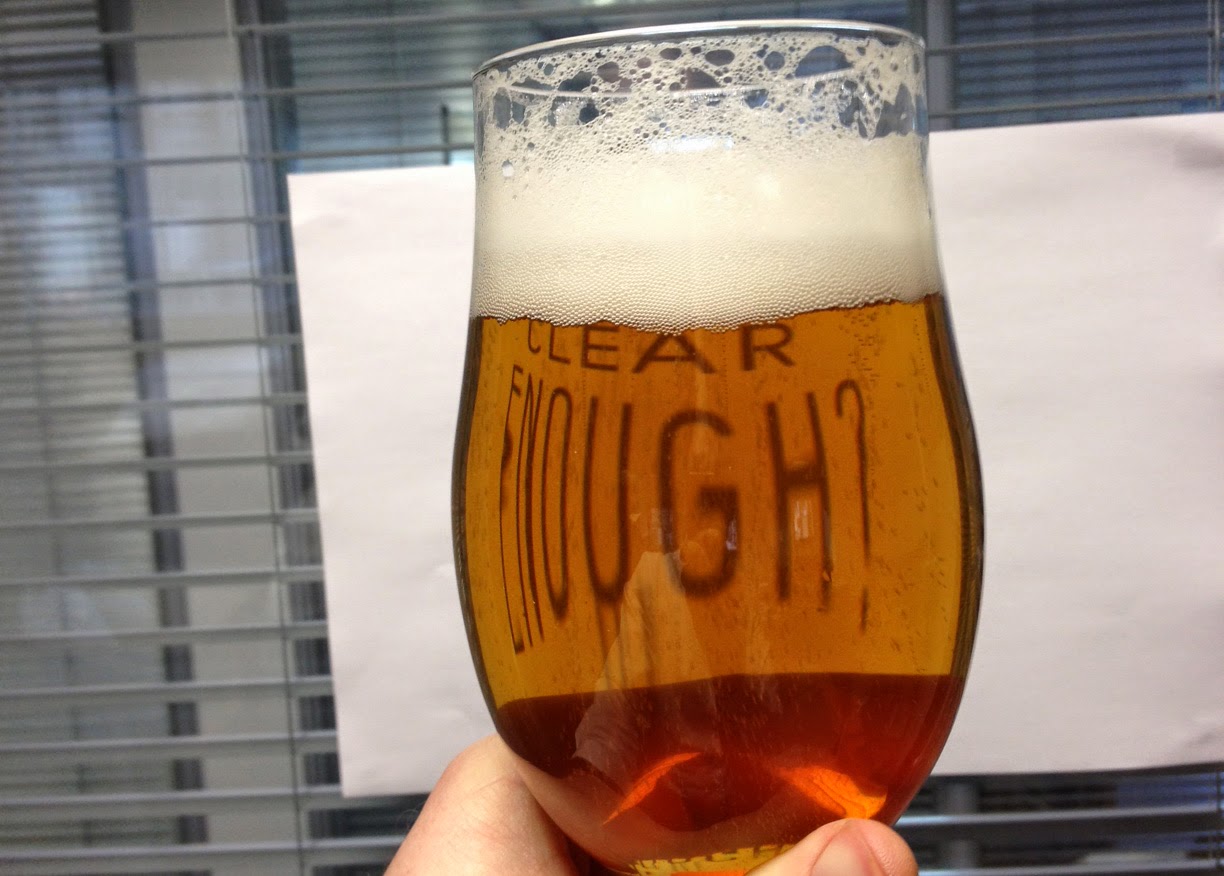
One of the most frustrating things when buying beer can be pouring the beer (being careful to not disturb the sediment if there is some) and it coming out of the glass looking like mud, or even worse, buying a beer in the pub and it looks the same.
We know that its currently en vogue to serve hazy beers akin to that shown below, but personally we prefer to know that the brewer has gone to a lot of effort to create a beer that not only tastes and smells good but looks good too. So how can we as home brewers ensure our beers come out bright?
There are two types of haze, biological and non-biological and here we’re specifically talking about non-biological haze.
Proteins and polyphenols from hops are the two main causes of haze but it can also be caused by:
- Calcium deficient worts
- Wheat derived adjuncts
- Under modified malt
For the most part though beer that looks like mud is due to the protein and polyphenol load in the beer. Techniques for limiting the amount of proteins and polyphenols in wort are:
- Use low protein malts
- Use Irish Moss
- Cool your wort quickly
- Cold store your beer
- Keep trub out of the fermenter
These tips are common sense and we’d guess that most of us are doing them or trying to do them anyway. But what if you want to use a ridiculous amount of hops in your IPA and no matter what you try it still looks like mud?…there’s got to be some other way to make bright beer right? Yes!
There are a quite a few finings products that you can use, typical ones are:
- Isinglass – great at dealing with yeast but for the most part yeast in suspension isn’t my problem, my beer is clear until I put it in the fridge and then it turns to mud.
- PVPP – a great product but I find it difficult to deal with because it requires the beer to be chilled at application. If I don’t have that chilling capability how do I use it? Added to this is the need for it to be filtered out of the beer, not an easy thing to do with a homebrew setup.
- Silica based fining agents – these work on a protein load well, but JK has been experimenting with it recently and it’s shown less than satisfactory results.
- Gelatine – As a combination of efficacy and ease of use for the homebrewer gelatine is good, it dissolves easily, mixes well and it targets proteins and polyphenols. JK has recently been using it on all beers he’s brewed that are dry hopped, even if he’s in a hurry and bottling straight from a fermenting vessel (FV) the resulting beers are beautifully bright even at fridge temperatures. This goes for moderate dry hopping to Imperial IPAs that are dry hopped at 10g/L or more!
So for JK the use of the five techniques listed above, plus gelatine, consistently produces bright and clear homebrew beers. There are loads of different ways to use gelatine and you can tailor it to however you currently brew and package.
You can:
• Add them to your FV at the end of fermentation and then bottle
• Transfer the beer to a bottling bucket adding the finings and then bottle
• Transfer the beer to Secondary adding the finings, leave for 24-48 hours then bottle
• Transfer beer to keg adding the finings, leave for 24-48 hours then transfer to a second keg for carbonation.
• Transfer the beer to a bottling bucket adding the finings and then bottle
• Transfer the beer to Secondary adding the finings, leave for 24-48 hours then bottle
• Transfer beer to keg adding the finings, leave for 24-48 hours then transfer to a second keg for carbonation.
Or you can do any combination of these; JK usually boils some water, say 100-200ml, allow cooling ’til it’s below 90°C then add 2.5-5g gelatine and stir/swirl ’til dissolved.
It’s very important for every brewer to experiment and determine the best regime for them, rates, amounts and times will differ depending on the beer and the haze.
JK really does think that a haze-free beer is a much better, much more professional product. He for one prefers the less astringent smoother qualities of a bright beer.