Reflux distillation produces a neutral spirit, such as Vodka or a neutral base spirit for flavouring. You can also infuse your neutral spirit with botanicals in a few more steps to make spirits such as Gin.
To distill neutral spirits on the G70 Brewing System, you’ll need the Grainfather Distilling Lid, T500 Reflux Condenser, Attachment Kit, and a few more pieces of equipment you may already be using in your brew house. Be sure to gather all equipment and ingredients required and make the wash in advance.
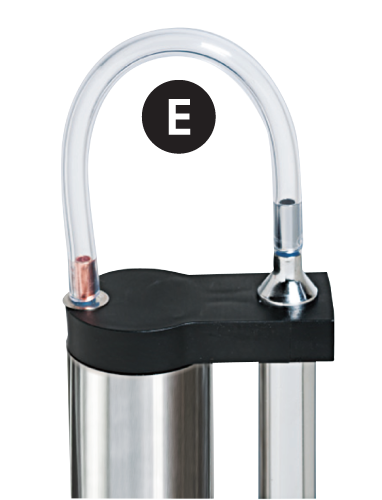
Remove the sight glass opposite the recirculation arm to avoid pressure build-up that may cause leaking from the top vent hole. You may skip this step if your unit does not have a sight glass opposite the recirculation arm.
Follow these steps to remove the sight glass:
(Wash volume in (L) * wash ABV) + (Wash volume in (L) * 0.01) = minimum volume of alcohol collection vessel
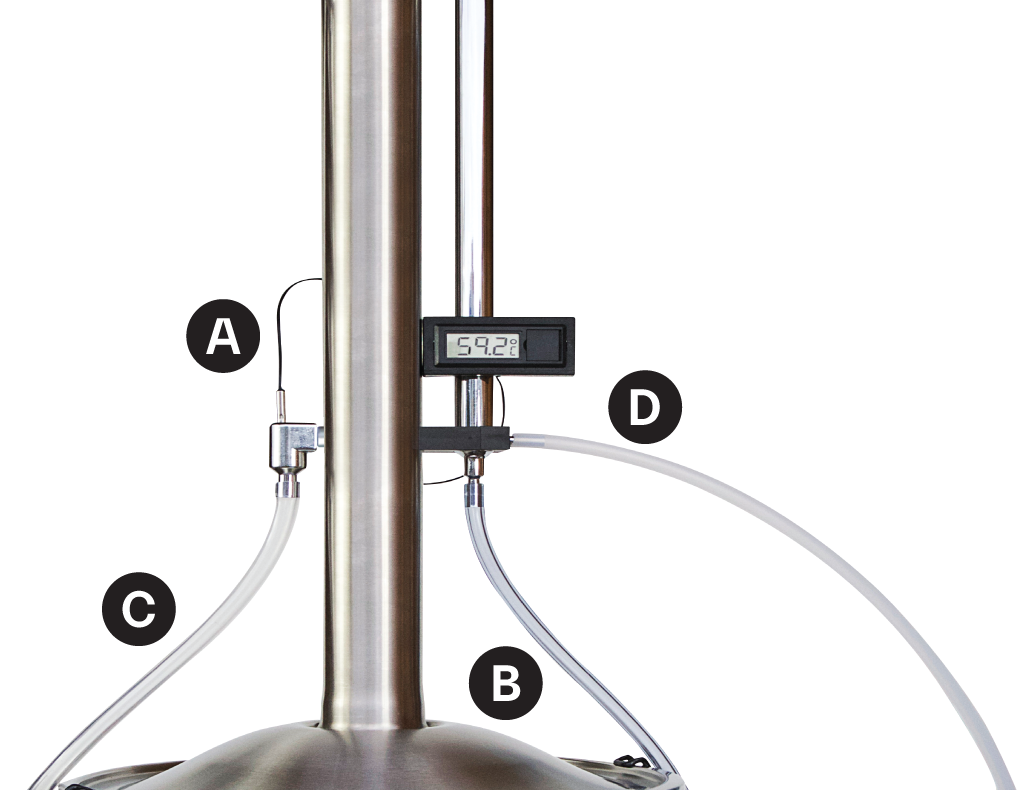
Refer to diagram below.
Refer to diagram below.
Refer to diagram below.
Using a water flow regulator allows for optimum water control and prevents pressure and temperature fluctuations that can lead to issues with the quality of your distillate.
Purchase a Still Spirits Water Flow Regulator (sold separately) at your local homebrew shop.
Put the unit into Power control mode by pressing ‘set’. Select the power control mode in the menu. Use the arrow to set the unit to 100% heating until the boiler reaches 75°C (167°F).
Adjust the flow to between 0.4-0.8 L per min using either your water flow regulator.
Depending on your ground water temperature you may need to increase the amount of water being used or once the boiler reaches 85C you can reduce the Power control down.
Note: It is recommended if you are using the G40 in 10Amp mode to keep the Power control at 100%
Legal Considerations
Distilling at home is legal in New Zealand. Check the laws in your country or state before you get started.