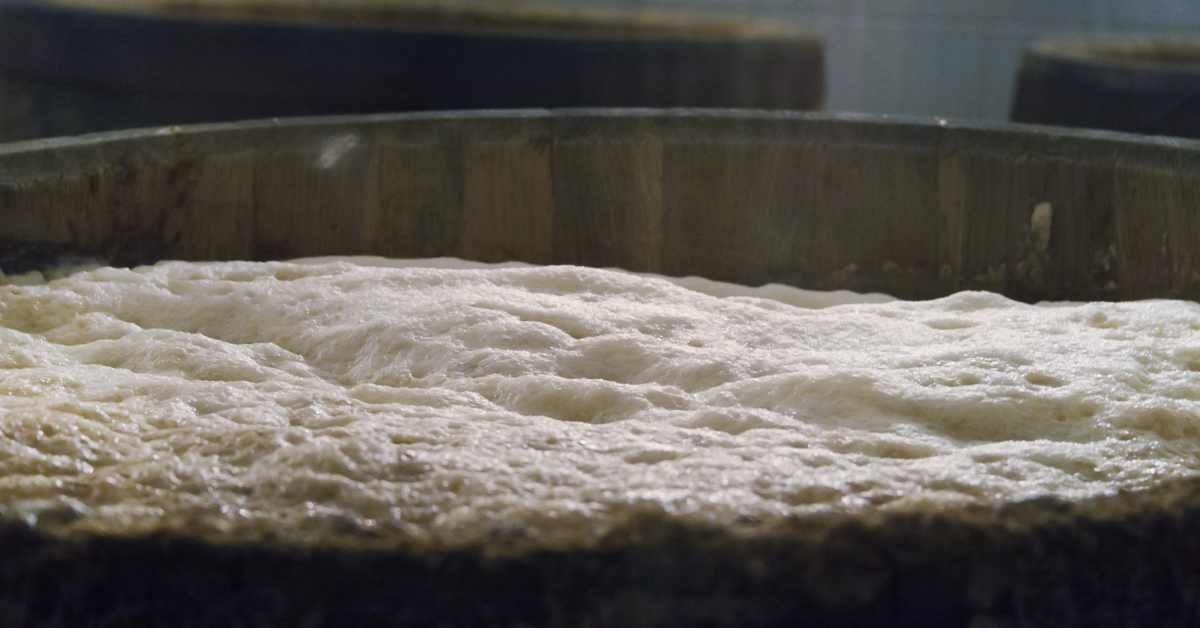
The Process of Making a Yeast Starter
A starter is useful for building up yeast cell count for higher gravity beers or when your yeast viability is not at its best.
Dried or Liquid Yeast Starter
Most manufacturers will have a specific process for the propagation of yeast using a starter method.
Below are the basic instructions for making a starter for a brew.
Items you will need:
- Sanitiser
- 2000 ml (67 fl oz) or greater borosilicate glass Erlenmeyer flask
- Larger container for water bath
- Thermometer
- 2000 ml (67 fl oz) of tap water
- Stir plate
- Magnetic stir bar (pill-shaped 4 – 6 cm long)
- 200g Dextrose (DME)
- Yeast nutrient
- Aluminium foil
Method:
- Sanitise all equipment.
- Add DME to the flask and make up to 2000 ml (67 fl oz) with water.
- Flask can be heated directly on the stove, boil gently for 10 mins.
- Add 1/8 teaspoon of yeast nutrient slowly to avoid boiling over and continue to boil for 5 mins. At the end of the boil add sanitised stir bar.
- Loosely cover the top of the flask with aluminium foil. CAUTION FLASK AND CONTENTS WILL BE HOT.
- Transfer the flask to a water bath of cool water to cool to 25°C (77°F) for ales and 18°C (64°F) for lagers.
- If using dry yeast, rehydrate first and then add to flask. For liquid yeast, allow the yeast to warm to room temperature. Sanitise the outside of the package before opening and transferring the yeast to the cooled starter. Re-cover with sanitised aluminium foil.
- Place the flask on the stir plate and set to slowly stir the starter. This process can be done without a stir bar and stir plate by gently swirling the starter yeast every few hours. Maintain the starter temperature and allow the yeast to consume the starter. Most yeasts will reach the correct cell density in 12-18 hours.
- Stop stirring (remove stir bar if possible with the magnet) and allow the yeast to settle over the next 6 – 12 hours.
- Decant as much of the liquid off the top of the yeast as possible without losing any yeast.
- Swirl the last of the starter and yeast to make a slurry and pitch into the fermenter (be careful not to lose your stir bar if not removed) trying to keep the fermenter and the yeast starter covered as much as possible.
Want to learn more about the brewing and fermenting process? Check out our Brewing 101 articles to up your brewing knowledge.
Leave a comment below or contact us on [email protected] if you have any questions. We’re happy to help!
