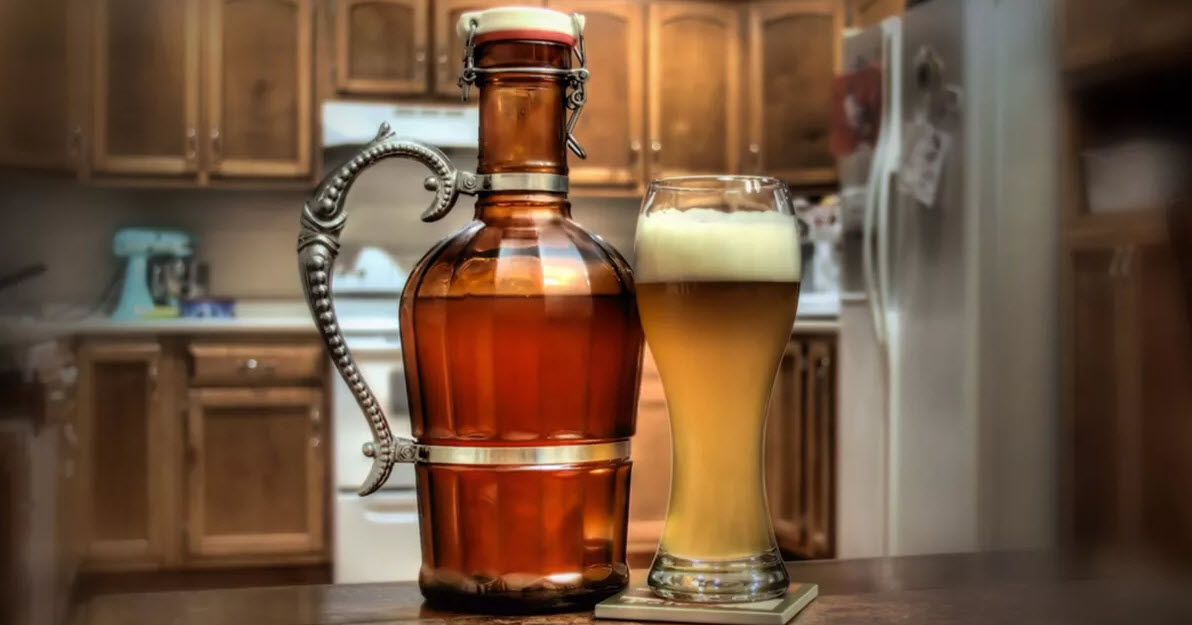
Bottles, Cans & Growlers are much more common around the home than a draught system, however, pouring these requires just as much finesse as pouring from a draught system…
Bottles
There are two types of bottle tops for individual bottles: cork-and-cage tops, and the more familiar bottle cap. Both types should be presented to the guest unopened, with the label facing the guest.
While bottle caps are very easy to open, the cork-and-cage requires a bit of finesse. First remove the cage, then very slowly twist the cork while gently pulling up. It is essential to keep the bottle vertical while opening.
Once the cap/cork is removed, begin by holding the glass at a 45-degree angle and slowly pour the beer into the glass. Keep a constant slow stream pouring and start to bring the glass to vertical.
As the beer nears the top of the glass or the last third of the bottle, begin to raise the bottle away from the glass to create the final head. The head should rise one to one and a half inches above the beer line. Unless requested, remove the empty bottle with you and present the glass to the guest.
Some styles, such as German-Style Hefeweizen, may require rousing of the yeast. Yeast sediment in beer contains vitamins and minerals that are healthful to consume, but it is up to the customer—ask their preference before service. If the customer does desire to drink the yeast, you can facilitate this by swirling, rolling or inverting the bottle and pouring the remaining yeast in the centre of the glass (often bringing the head of the beer well above the rim of the glass).
Cans
Away from the guest, just before pouring the craft beer, pop the can open. Take the opened can and appropriate glassware with you to the guest. Present the craft beer with the label facing the guest and announce the beer by name. The presentation of the can acts as a final order confirmation for the guest as well.
Hold the glass at a slight angle, with the can about an inch from the top of the glass, and begin pouring. As the glass fills, adjust the angle of the glass until vertical. Once the glass is vertical, begin to slow the pour to form the head. The last third of the can should be poured in a constant slow stream into the centre of the glass as the head rises. It is appropriate for the level of the head to crest over the top of the glass and forms a peak. It is not appropriate to have beer drip down the side of the glass, nor for the head to be more than one inch in height.
Growlers
These vessels vary from traditional glass and handmade ceramics to the latest stainless steel technologies. Though not served tableside, growlers allow guests to take fresh craft beer home with them. Filling a growler should be done with care to ensure the beer remains fresh until the customer is ready to drink it. Place one hand on the bottom of the bottle to support the weight and the other hand on the neck to control pour speed. Pour in a slow, constant stream into the centre of the glass to offer a small taste to the guest who ordered the bottle. Once approved, pour the beer into each glass at the table.
- Growler shelf life is not nearly as long as that of a bottle, can or keg.
- Filling warm or hot growlers causes foaming. For best results, make sure that your growler is cool or at least room temperature before filling.
- Clear glass growlers (which potentially allow sunlight through) can cause skunking, which can negatively alter the taste of your beer.
- Keep filled growlers cold and dark. Customers should not leave a filled growler in a car on a hot or very cold day.
- It’s just a fact: Once opened, the beer is never as fresh and carbonated as when the growler was first filled.
- When finished, be sure to rinse your growler well with warm water, so it’s clean for the next fill, but never fill a growler that is warm as this causes foaming.
- Growlers are fragile, so don’t drop them!
