


Brewing 101: The Ultimate Guide to Brewing Beer at Home
READY TO BREW? LET'S MAKE IT EASY...
Thinking about brewing your own beer but not sure where to begin? Whether you’re moving on from extract kits or jumping straight into all grain, we know it can feel like a lot. That’s why we created this All Grain Brewing 101 step-by-step guide designed to make brewing at home simple, rewarding, and fun.
With over 10 years of experience and input from new brewers, seasoned pros, and our own in-house experts, we’ve built this guide to cover everything from your first ingredient list to your first pour. You’ll learn what equipment you really need, how to master the brewing process, and how to avoid common mistakes. Plus, you’ll find tips, tricks, and techniques to level up as you go—from dry hopping to bottling, and beyond.
The best part? You don’t have to know everything right away. Just start with the basics, follow along, and you’ll be brewing confidently in no time. So grab a beer (or plan to make one soon) and let’s raise a glass to your brewing journey—we’re excited to have you in the Grainfather community.
1. THE KEY INGREDIENTS
Brewing your own beer has endless creativity but there are some basic ingredients you will need to get started.
MALT
Malted grains—most often barley—are packed with starches that turn into sugars, which then become alcohol during fermentation. You can explore different types of malt to create body, colour, and flavour.
HOPS
Hops bring bitterness, aroma, and balance to your brew. They also act as a natural preservative. Different hop varieties can give you everything from citrusy bursts to earthy tones. Check out our hops guide for more detail.
YEAST
Yeast is the powerhouse of the brew—it converts sugar into alcohol and carbon dioxide. There are loads of strains out there, and each one adds something different to the beer’s flavour and mouthfeel.
WATER
It might seem simple, but water makes up over 85% of your beer. Its quality and chemistry can affect everything from taste to clarity. Learn more about water chemistry here.
2. BREWING EQUIPMENT
BREW KETTLE
The brew kettle is at the heart of your system—it’s where your wort (unfermented beer) is boiled after mashing.
A good-quality brew kettle is a must. We recommend choosing one made from 304 stainless steel for maximum durability and corrosion resistance. Boiling wort can be intense, so investing in a robust kettle now means you’ll have reliable performance for many brews to come.
MASH TUN
In all grain brewing, you’ll need a mash tun—a vessel used to steep and convert grain starches into fermentable sugars.
Many modern brewing systems combine the mash tun and kettle in one, but if you’re building your setup piece by piece, you’ll need a dedicated mash tun to handle this critical first step of the brewing process. Look for good insulation and an easy way to drain your wort after the mash.
FERMENTER
Once your wort is boiled and cooled, it’s time for fermentation—and for that, you’ll need a fermenter.
This is where the magic happens: yeast is added, and the sugars are transformed into alcohol and carbon dioxide. Fermenters come in various shapes and sizes, from simple plastic buckets to stainless steel conical fermenters with temperature control. Start with something reliable and easy to clean—and most importantly, make sure it’s completely sanitised before use.
3. THE BREWING PROCESS
Let’s break it down:
SANITISING
There are only three rules in brewing: Sanitise. Sanitise. Sanitise. It may not be the most glamorous part of the brew day, but it’s absolutely essential. Any surface or piece of equipment that touches your beer—especially after the boil—needs to be clean and sanitised. Contamination at this stage can spoil a whole batch, so taking a little extra care now ensures your hard work pays off in the glass later.
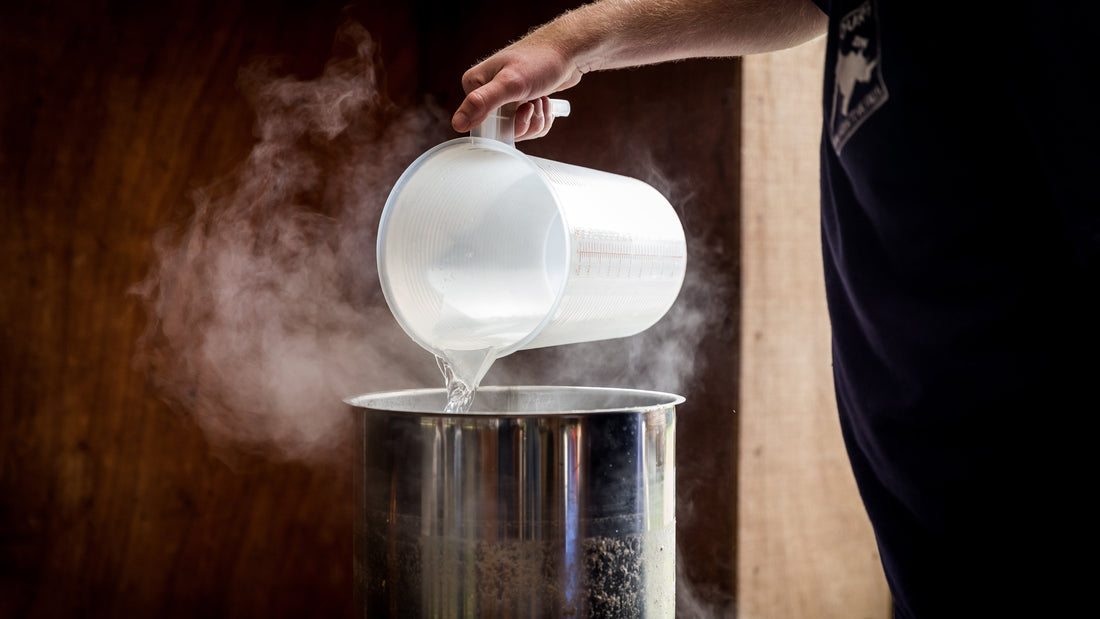
MASHING & SPARGING
Mashing is where your grains release their hidden potential.
In this step, crushed grains are soaked in warm water—typically between 65°C–68°C (149°F–154°F)—inside your mash tun. Here, natural enzymes break down the complex starches in the grain into fermentable sugars. This sweet liquid is called wort.
After about an hour, you’ll rinse or "sparge" the grains with fresh warm water to extract as much sugar as possible. This sets the foundation for your beer’s flavour, colour, and body.
BOILING
Once the sugary wort is collected, it's brought to a rolling boil.
This step serves multiple purposes: it sterilises the wort, concentrates the sugars, and allows you to build bitterness, flavour, and aroma by adding hops at specific intervals.
Hops added early in the boil create bitterness, while later additions contribute more to flavour and aroma. The boil usually lasts 60 minutes, and it’s during this time that your beer’s personality really starts to take shape.
FERMENTING
After the boil, the wort is rapidly cooled and transferred into a fermenter. Now it’s time for the yeast to take over.
Once pitched, the yeast consumes the sugars and produces alcohol, CO₂, and a range of flavourful byproducts unique to each strain.
Controlling the fermentation temperature is crucial—different yeasts thrive at different ranges, and keeping things steady ensures clean, consistent results. This stage can take anywhere from a few days to a few weeks depending on the style of beer and yeast used.
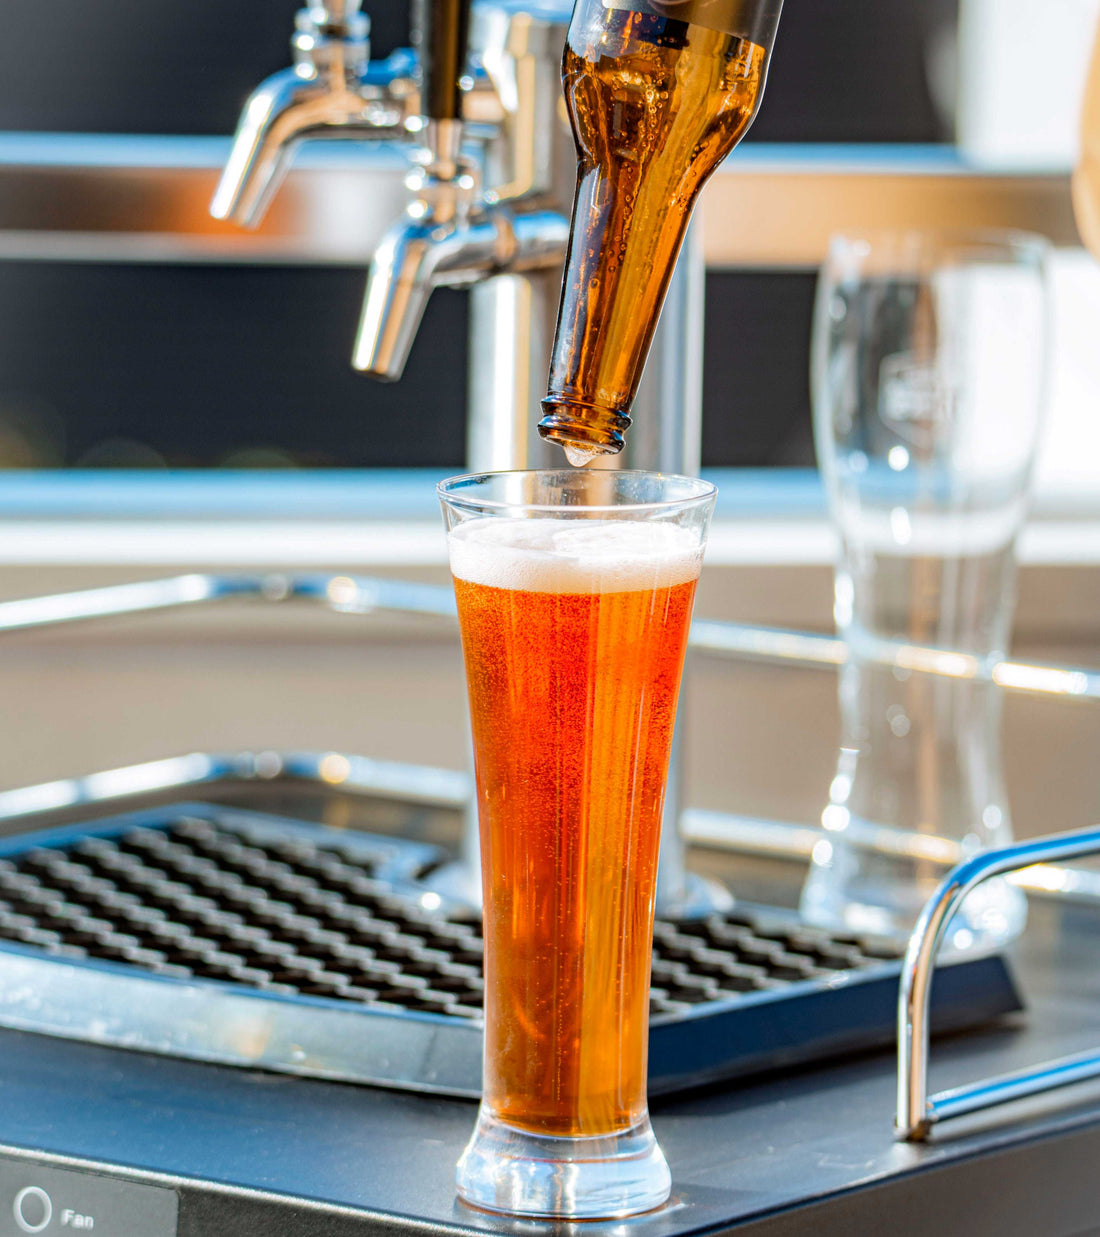
KEGGING AND BOTTLING
Once fermentation is complete, it’s time to package your beer—ready to share, store, or sip. The two most common options for homebrewers are bottling and kegging, each with its own perks.
BOTTLING BEER
Bottling is often the go-to choice for beginners—it’s affordable, straightforward, and perfect for sharing your homebrew at a BBQ or party.
Just like the rest of your brewing gear, bottles need to be clean and sanitised before use. Luckily, a run through a clean dishwasher on a hot cycle usually does the trick. Both glass and plastic bottles work well and can be reused again and again, making your hobby more sustainable.
KEGGING
If you're after speed, consistency, and a bit of that brewery-at-home feel, kegging is your best bet.
Kegs offer a more streamlined process and can be hooked up to a tap system for easy serving. It’s a bit more of an upfront investment, but there’s no denying the bragging rights that come with pouring your own pint at your home bar.
We recommend following brew day videos on YouTube to see the process in action. You can subscribe to our channel here.
4. EXPLORE HOMEBREWING TECHNIQUES
Once you’ve got the basics down, there’s a whole world of techniques you can try to take your beer to the next level. These methods help you fine-tune flavour, improve clarity, and develop your own brewing style. Here are a few to get started with:
DRY HOPPING: BOOST AROMAS & FLAVOUR
If you love bold, hoppy beers like IPAs or pale ales, this technique is for you.
During the boil, hops are added to create bitterness, but the high heat tends to burn off a lot of the delicate flavour and aroma compounds. That’s why many brewers also dry hop—adding hops after the boil, usually towards the end of fermentation.
Dry hopping is like steeping a tea bag in beer: it infuses your brew with those delicious hop oils that bring citrus, pine, or tropical fruit aromas to life. It’s an easy way to dial up the hop character without making your beer overly bitter.
STEP MASHING: UNLOCK COMPLEX FLAVOURS
Ready to experiment? Step mashing is a traditional technique where you gradually raise the temperature of your mash in stages. Each temperature “rest” activates different enzymes in the grain, which can change the mouthfeel, fermentability, and flavour of your beer.
It’s especially useful if you want more control over body, head retention, or if you're using specific malts or brewing traditional European styles. While modern malts often make single infusion mashing perfectly effective, step mashing opens the door to more distinctive brews.
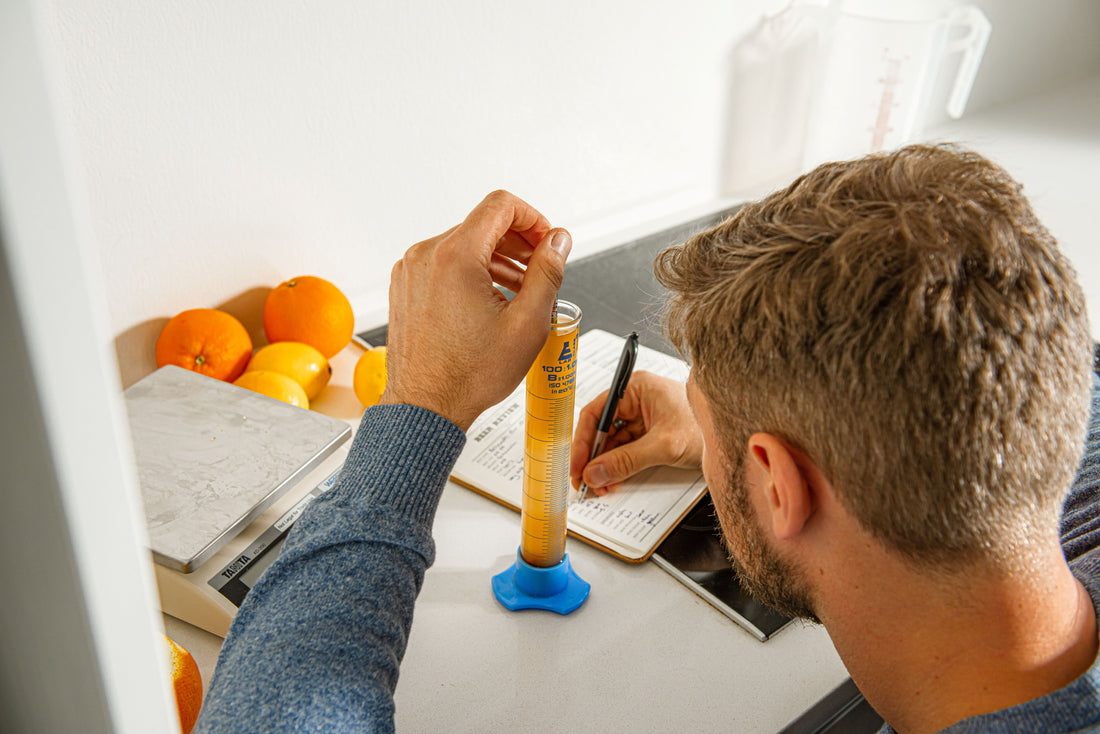
COMMON OFF FLAVOURS: SPOT & SOLVE PROBLEMS EARLY
Even experienced brewers occasionally run into strange flavours—like a buttery taste, metallic notes, or sourness when it shouldn’t be there. These off flavours can come from temperature issues, fermentation problems, poor sanitation, or even water chemistry.
Knowing how to recognise and correct them is a big part of becoming a better brewer. You’re not alone—everyone’s had a brew go sideways at some point!
BEER CLARIFICATION: FROM HAZY TO BRIGHT
Some beer styles—like New England IPAs—embrace the haze. But if you’re brewing a lager, pale ale, or pilsner, clarity can be a sign of a well-made beer.
One of the most common clarity issues is chill haze, which makes your beer look cloudy when cold but clear when warm. It’s caused by proteins and polyphenols clumping together, often from your malt and hops.
Here’s how to reduce it:
- Use enzymes in the wort to break down haze-forming proteins.
- Choose ingredients carefully—high alpha acid hops and low-polyphenol malts can help.
- Try batch sparging, which can reduce tannin extraction from the grain husks.
- Use a wort chiller for fast cooling—this encourages a good cold break and helps proteins drop out early.
PERMANENT HAZE
Unlike chill haze, permanent haze doesn’t clear up—and it usually signals a deeper issue. In some cases, it could be from overly high protein malts or process inconsistencies, but the most common culprit is biological contamination.
If your beer smells off and looks murky even after conditioning, it could be due to wild yeast or bacteria sneaking in during fermentation or packaging. There’s no fix for a contaminated batch, but it’s a valuable lesson in tightening up your cleaning and sanitising practices.
5. HOMEBREWING TIPS FROM THE PROS
Once you’ve got the basics down, there’s a whole world of techniques you can try to take your beer to the next level. These methods help you fine-tune flavour, improve clarity, and develop your own brewing style. Here are a few to get started with:
We asked our brewers and community to share what they wish they knew at the start:
- Read your recipe carefully and prep ahead.
- Start simple—nail the basics first.
- Be patient with fermentation—it’s worth the wait.
- Sanitise everything, every time.
- Most importantly: have fun! Brewing is about enjoying the process and the result.
6. CHOOSE YOUR FIRST RECIPE
Once you’ve got the basics down, there’s a whole world of techniques you can try to take your beer to the next level. These methods help you fine-tune flavour, improve clarity, and develop your own brewing style. Here are a few to get started with:

This is where the fun really kicks in. Start with a straightforward style—like a blonde ale, pale ale, or a classic lager—and build from there. Join our community to get access to a full library of recipes, all developed and tested by brewers like you.
If you haven’t already, sign up for the app and join our community of craft brewers and gain free access to a catalogue of recipes.
7. KEEP LEARNING
There’s always something new to learn in brewing—from advanced techniques to the science behind your favourite styles. Check out our blog posts full of info from the experts, and YouTube videos for deeper dives into your new favourite hobby.
We've also teamed up with some brewing industry pros and the infamous John Palmer, on a Book for How to Brew Beer in your Kitchen available for purchase.

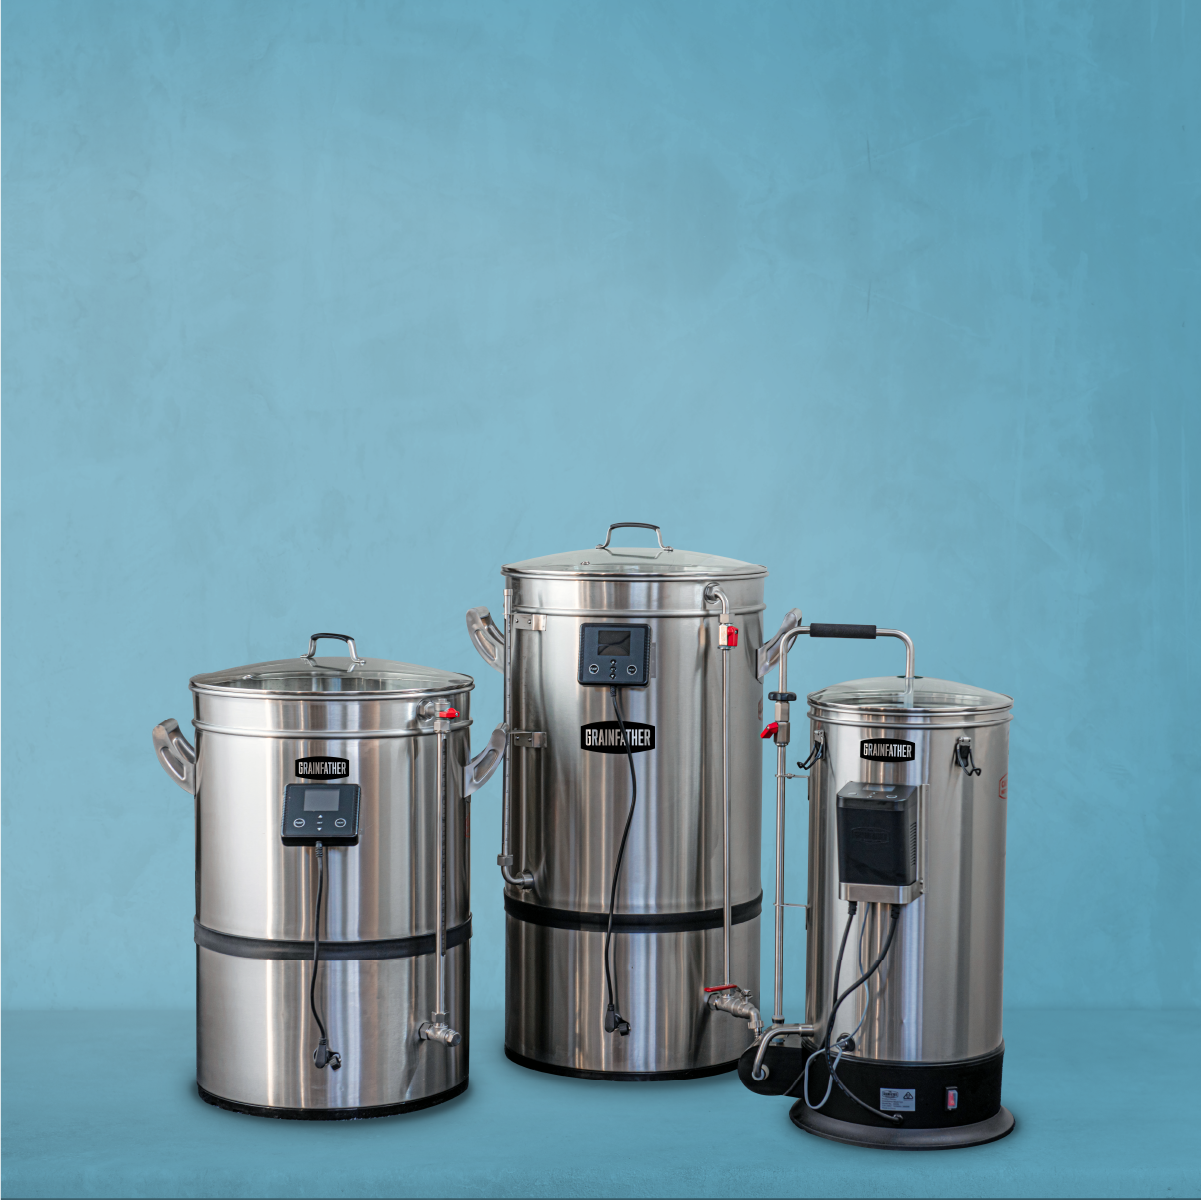
COMPARE & CHOOSE A BREWING SYSTEM
Compare and find the perfect system for you, to get you going on your brewing journey.
Grainfather Brewing Systems

Type:
Grainfather G30v3 110V + Counterflow Chiller (US/CA)


Type: